Your Cart is Empty


$69.95
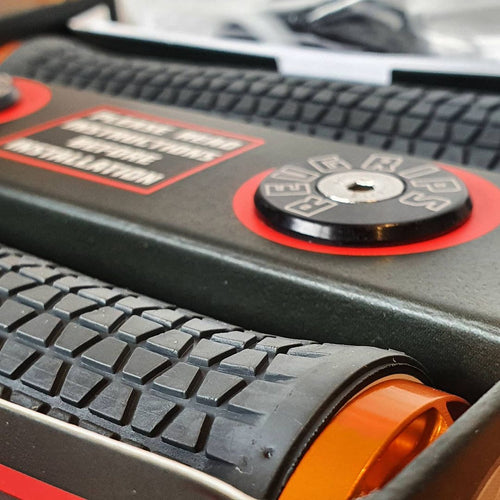
Step-by-Step Installation Instructions for Tight-Tolerance Hardware
Important: Improper installation can damage the bushing by displacing the orange Teflon liner from the new eyelet bushing. Follow these steps carefully. See images of step-by-step guide.
1. Remove Old Hardware
Press out the existing hardware and thoroughly clean the shock eyelet where the new hardware will be installed.
2. Install the Bushing and Hardware Pin
Assemble the bushing and hardware pin as a single unit. Using a vice, press the unit into the shock eyelet.
On the opposite side, position a deep socket with an internal diameter larger than 12.7mm to support the eyelet. This allows the hardware pin to press through without contacting or damaging any surface. Tighten the vice until the unit is fully seated and flush with the eyelet.
3. Center the Hardware Pin
Remove the shock from the vice. Reposition the socket on the flush side and use the vice again to press the hardware pin back through the eyelet until it is centered.
4. Install O-Rings and Spacers
Slide one O-ring followed by one plastic spacer onto each side of the hardware pin, in that order. Start by pressing them on by hand, then use the vice to ensure both sides are evenly seated.
We highly recommend using the RockShox Rear Shock DU Bushing Sizing Tool 1/2" x 1/2" (00.4318.072.000) to size the bushing accurately, ensuring the pin slides through smoothly, but above Installation Instructions still need to before followed.